Q: We inadvertently provisioned a single-register meter as a compound meter. How can we correct this?
A: To manually change a single-register meter that was incorrectly provisioned as a compound back to a single-register meter, do the following:
- Write down or capture a screenshot of the mis-provisioned meter information:
• Account ID
• Location ID, Name or Address
• Meter ID
• Endpoint ID - Choose Assets>Update.
- Find the meter’s endpoint by searching for its Serial Number or Location Name.

- Change the Meter ID to an arbitrary number, for example, “22222,” by double-clicking in the Meter ID box and typing the new number.

- Click the Un-provision Endpoint button.

- Click the Service tab.

- Lookup the Service by entering the Location ID, Location Name or Address in the drop-down menu.

- Click the Lookup Service button.
- If you are certain you selected the correct service record, click the Delete Service button.
- In the Delete Service popup dialog box, confirm that you want to proceed and click the Delete Service button to complete the deletion process.
- Click the Provision tab.
- Find the endpoint by using the drop-down menu and entering its Serial Number.
- Click the Re-use Existing radio button, and use the drop-down menu to select the Location ID, Name or Address you wrote down in Step 1.
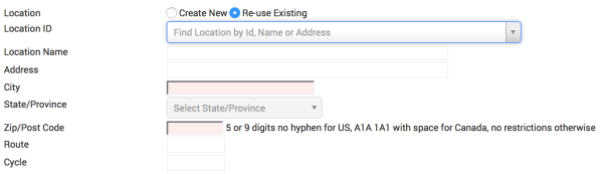
- With the Meter Create New radio button highlighted, enter the Meter ID that you wrote down in Step 1.
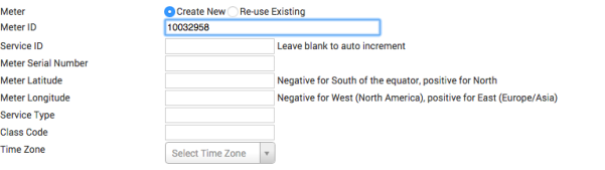
- Provide the rest of the Meter details.
- Provide the manufacturer details.Note: When using the Registration drop-down menu, it is vital that you select the correct encoder register installed at that location. For a complete list of Badger Meter encoder registers, see BadgerMeter.com.

- Click the Provision Endpoint button.


